

Prerequisites
- macOS 12+, Windows 10+, or a Linux distribution with a desktop environment
- An SSH server you can connect to (hostname, port, username, and password or key)
Install
1
Download the app
Download the latest release for your platform:
2
Sign in
Open Termique and click Sign in with browser. This opens your default browser to complete sign-in, then returns you to the app.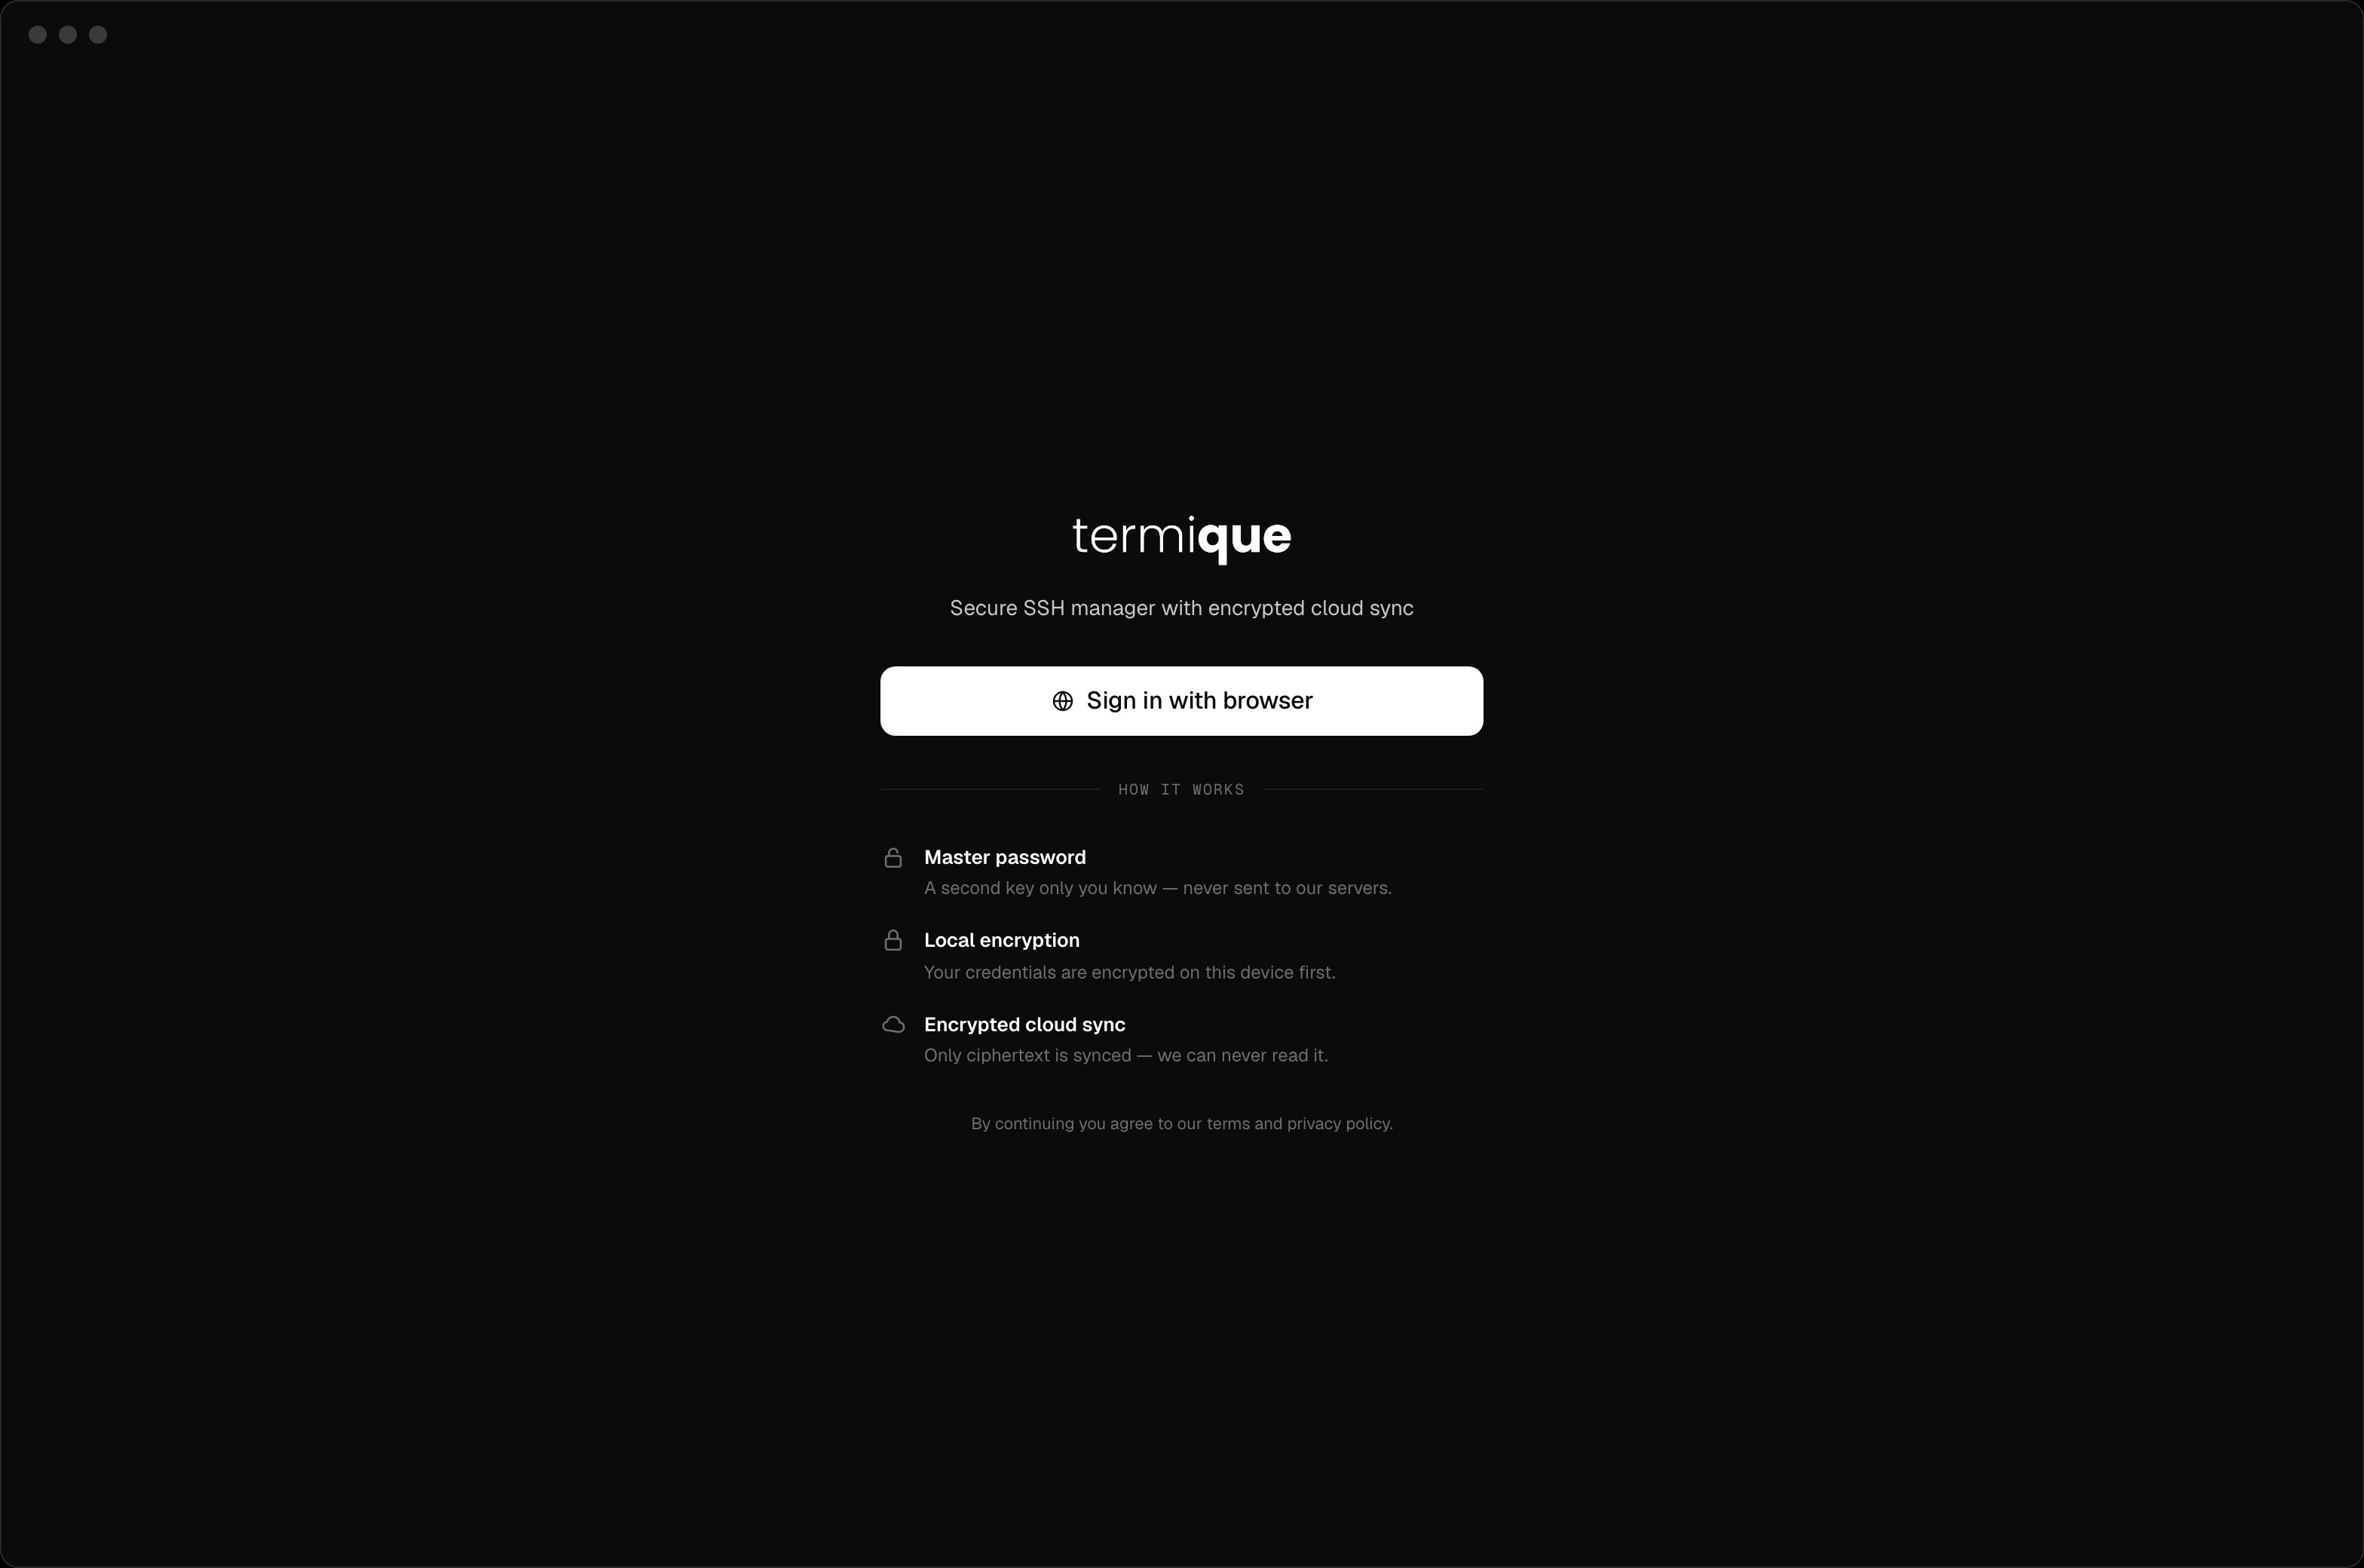
3
Complete onboarding
On first launch, a short setup wizard walks you through: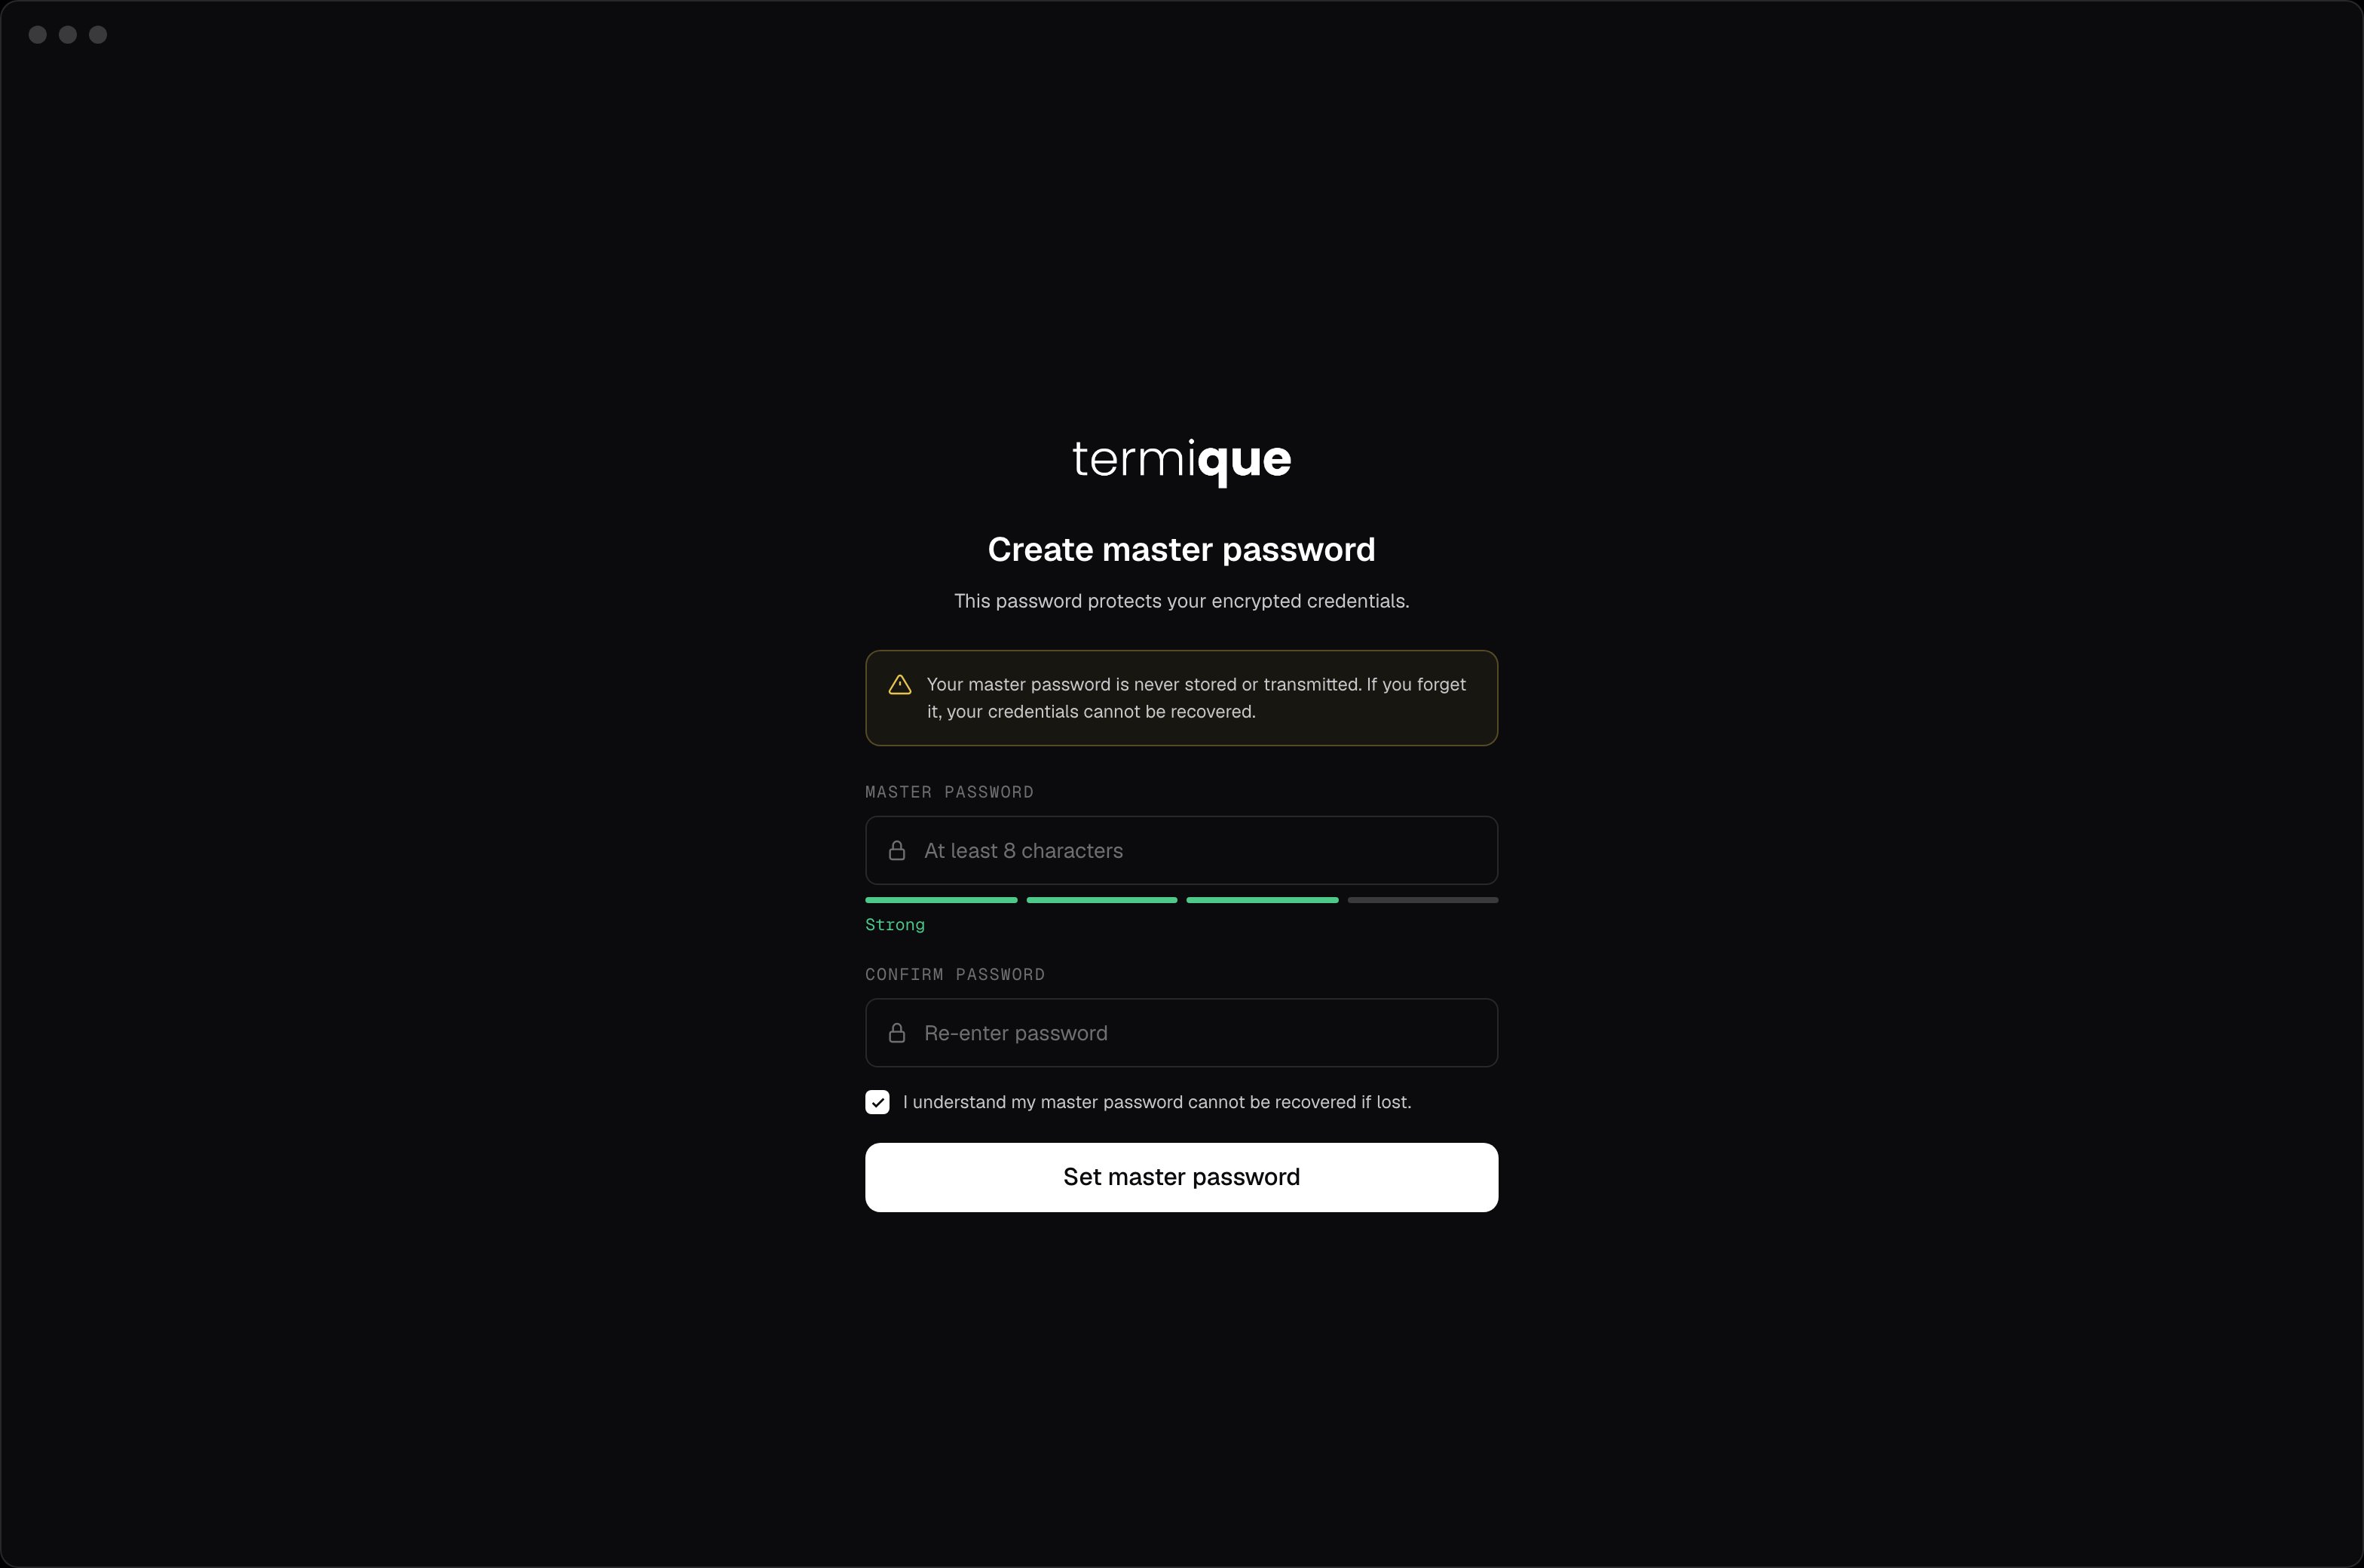
- Welcome: a quick intro to Termique.
- Master password: enter a strong master password. This password encrypts your Data Encryption Key (DEK), which in turn encrypts every credential. There is no password recovery. If you lose it, your credentials cannot be decrypted. Store it in a password manager.
- Theme: pick Light, Dark, or System. You can change this later in Settings.
- Plans: compare Free and Pro. Everyone starts on Free; upgrade now or later from Settings.
4
Add your first host
You’ll land on the Dashboard. Click Add Host.Fill in:
- Label: a friendly name (e.g.
web-prod-01) - Host: the hostname or IP address
- Port: SSH port (default
22) - Username: the SSH user
- Auth type:
passwordorkey - Credential: the password or private key
5
Connect
Click the host in the sidebar. Termique opens a terminal session connected to your server.You can open multiple sessions in tabs, resize the terminal, and disconnect from the session menu.